How to Restrict App Access using Cloudflare Zero Trust and Terraform
This post is a straightforward hands-on tutorial about implementation of Cloudflare Zero Trust on website by using Terraform.
This approach works only if your application DNS configured on Cloudflare DNS.
1. Terraform / OpenTofu installation
Follow Install Terraform guide to get Terraform installed on your local machine.
You folks can also use OpenTofu, either is fine.
Once Terraform successfully installed, verify it using terraform -version command.

2. Cloudflare API token
Login to Cloudflare, then navigate to the API Token page, then click Create Token → Edit zone DNS → Use Template.
Ensure to have the following permission attached to your API Token:
- Access: Organizations, Identitiy Providers, and Groups
- Access: Apps and Policies
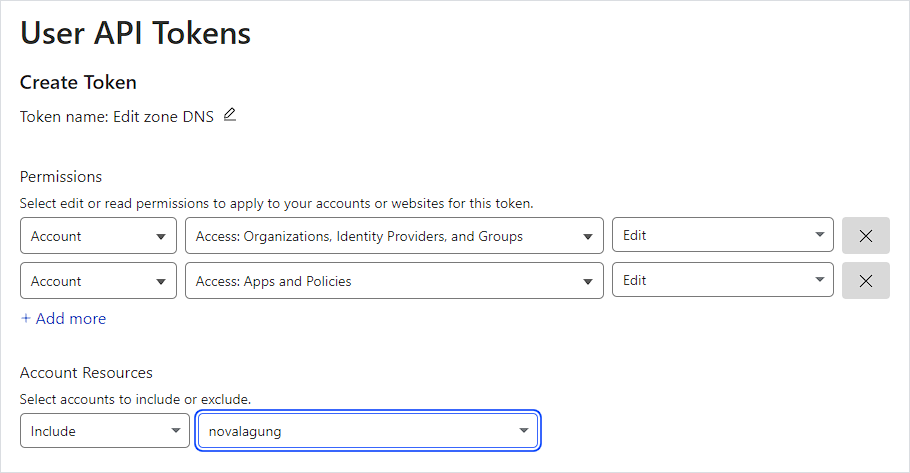
Then click Continue Summary → Create Token. In the end, you will see the generated API token.

The Cloudflare API token is going to be used on our Terraform (HCL) script for managing Cloudflare Zero Trust configuration programatically.
3. Project setup
Let's create a new project for storing the tf files. Create a new folder with the following structure:
my-project
  → provider.cloudflare.tf
  → var.whitelist-access.tf
  → zero-trust.access-group.my-group.tf
  → zero-trust.application.wireguard.tf
Next, open provider.cloudflare.tf file, fill it with the script below:
terraform {
  required_providers {
    cloudflare = {
      source  = "cloudflare/cloudflare"
      version = "~> 4.33.0"
    }
  }
}

provider "cloudflare" {
  api_token = "206X7Ba7VwGeLAk93ffUtuMrI_v3vf4xr"
}

variable "account-id" {
  default = "5824f4cbcdf214e05000e217f686bba4"
}
Explanation:
The
terraformblock and everything within is necessary for enabling Cloudflare resource management via Terraform. In the example, Terraform Cloudflare providerv4.33.0is being used.The
provider "cloudflare"block must contains the Cloudflare API Token information. Put the API token from Step 3. Cloudflare API token to theapi_tokenvariable within that block.Put the Cloudflare account ID under
variable "account-id"block. The account ID information is available on Cloudflare domain summary page, see on the bottom right section.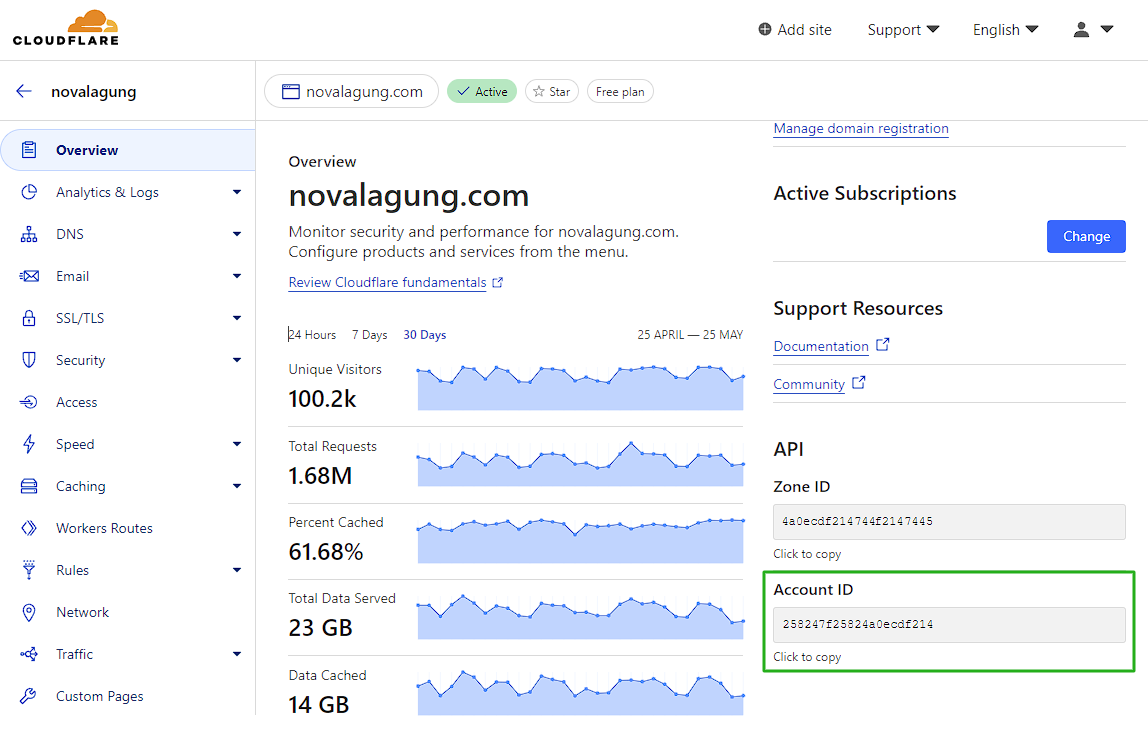
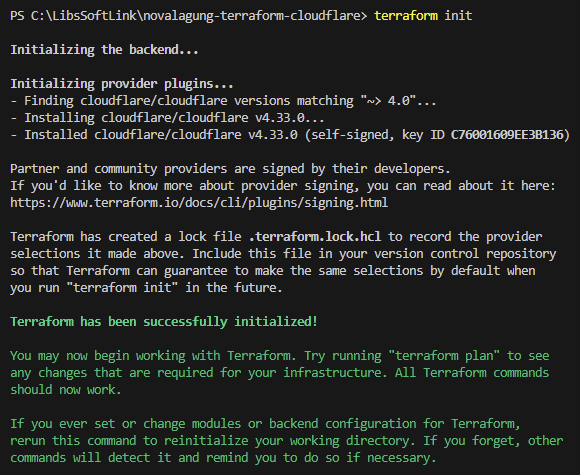
Now, run the following command to initialize the terraform project and to download the Cloudflare provider dependencies:
cd my-project
terraform init
If you see output similar to image below, then all good.
If you are using Terraform Cloud, ensure to add the cloud block under terraform block, e.g:
terraform {
  cloud {
    organization = "novalagung-org"

    workspaces {
      name = "my-workspace-name"
    }
  }

  required_providers {
    cloudflare = {
      source = "cloudflare/cloudflare"
      version = "~> 4"
    }
  }
}
As of now, all preparation is completed. Next, we will start to write down the HCL script for managing application, users, and accesses.
4. Whitelist access variables
Fill the var.whitelist-access.tf file with variable definition for both whitelisted email addresses and email addresses.
variable "whitelist-email-addresses" {
  default = [
    "[email protected]",
    "[email protected]"
  ]
}

variable "whitelist-ip-addresses" {
  default = [
    "192.33.44.22/24",
    "12.33.444.23/22"
  ]
}
Explanation:
- Variable
whitelist-email-addressescontains list of email that is allowed to access the target app. - Variable
whitelist-ip-addressescontains list of IP address that is allowed to bypass the target app.
5. Create Zero Trust access group resource
The email address will not be attached directly to the zero trust policy, instead, it will be added to access group resource. Use the script below for automating the process of creating my-group access group resource.
resource "cloudflare_access_group" "my-group" {
  account_id = var.account-id
  name       = "my-group"

  include {
    email = var.whitelist-email-addresses
  }
}
Run the terraform plan command to validate the resources creation. If no error is visible, continue with terraform apply command.
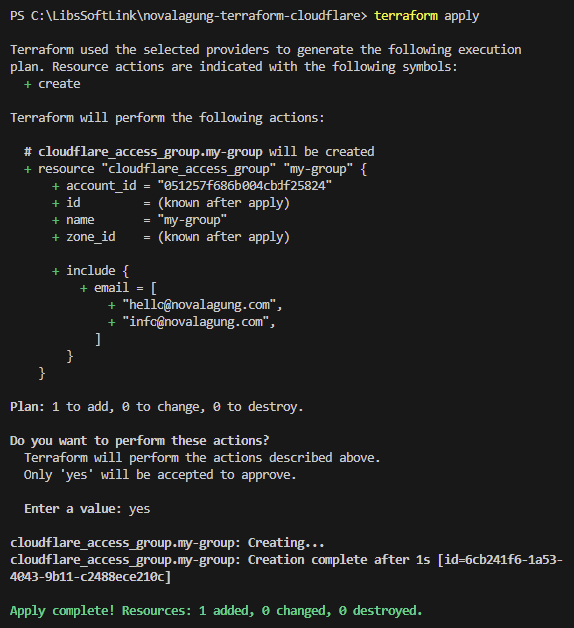
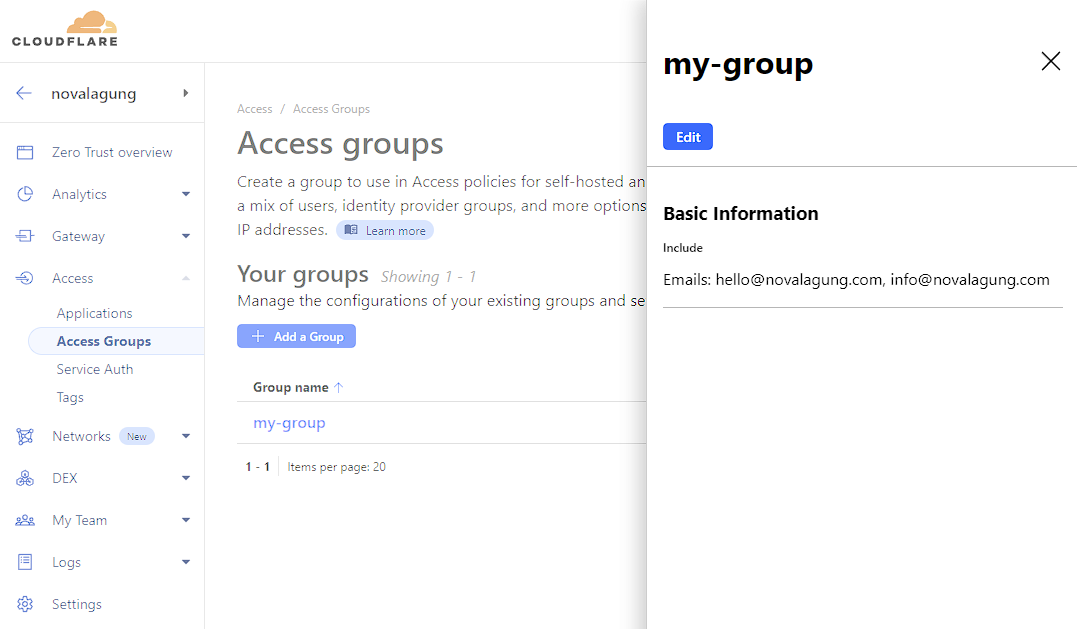
Now open up Cloudflare Zero Trust page. Verify the newly created resource. It should be available under Access → Access Group → click group name (in my case it is my-group).
6. Create Zero Trust application resource
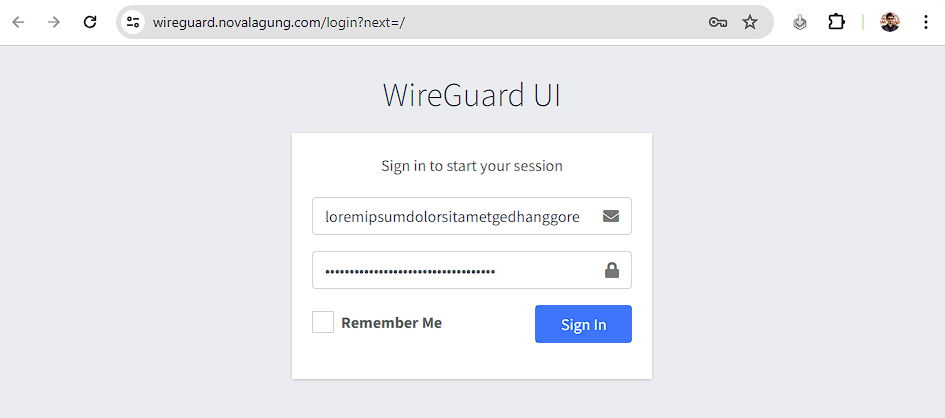
Let's decide one domain/subdomain as the target for this practice. In my case I'm picking wireguard.novalagung.com, it is a WireGuard UI app I created for managing my VPN users.
Please keep in mind, to enable Cloudflare Zero Trust on domain/subdomain, the DNS itself must be configured on Cloudflare.
The scenario: I want to attach Zero Trust security policies to that subdomain and apply the following rules:
1st rule: only
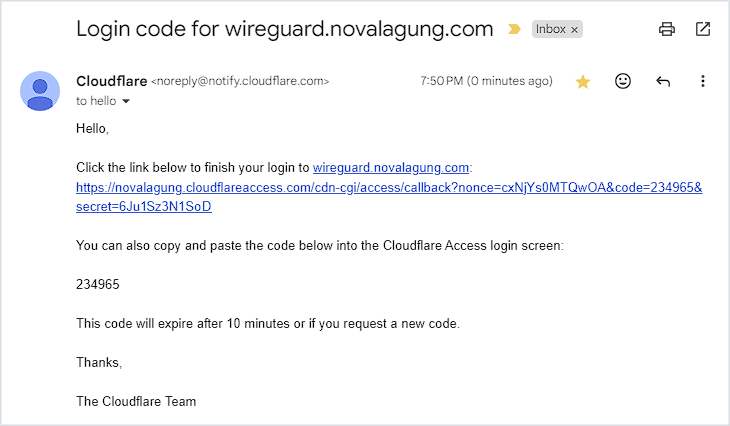
allowspecific email address to access the resource.This forces the user to enter their email address when trying to access the target domain/subdomain. If the entered email address is whitelisted, Cloudflare will send 2FA verification to the email.
The access itself is only valid for 24 hours. After that, session become expired and user need to repeat the 2FA email verification process to get the access.
This type of rule access is useful for restricting access to only specific people. e.g. An internal website that the users are only your team.
2nd rule:
bypassaccess from certain IP addresses.This policy enable direct access to the target domain/subdomain without any additional verification needed. As long as the request is created on the one of the whitelisted IP addresses, then all good.
This type of rule access is useful for bypassing specific type of access to restricted site. e.g. Jenkins server that can be accessed by internal team only, but bypassing incoming webhook request from GitHub.
Based on the above scenario, we get the following summary:
- Target domain:
wireguard.novalagung.com - Type:
self_hosted(because the app is hosted on cloud) - Session duration:
24h - Policy rules:
allowaccess based on specific email addressesbypassaccess based on specific IP addresses
Now, let's prepare the HCL script. Open up the zero-trust.application.wireguard.tf file, fill it with the codes below:
◉ Resource to allow access based on email addresses
resource "cloudflare_access_policy" "wireguard-access-policy-allow" {
  account_id       = var.account-id
  name             = "Allow access"
  decision         = "allow"
  session_duration = "24h"

  include {
    group = [
      cloudflare_access_group.my-group.id
    ]
  }
}
◉ Resource to bypass access based on IP addresses
resource "cloudflare_access_policy" "wireguard-access-policy-allow" {
  # ...
}

resource "cloudflare_access_policy" "wireguard-access-policy-bypass" {
  account_id       = var.account-id
  name             = "Bypass access"
  decision         = "bypass"
  session_duration = "24h"

  include {
    ip = var.whitelist-ip-addresses
  }
}
◉ Access application resource
resource "cloudflare_access_policy" "wireguard-access-policy-allow" {
  # ...
}

resource "cloudflare_access_policy" "wireguard-access-policy-bypass" {
  # ...
}

resource "cloudflare_access_application" "wireguard-access-application" {
  account_id       = var.account-id
  name             = "WireGuard"
  domain           = "wireguard.novalagung.com"
  type             = "self_hosted"
  session_duration = "24h"

  policies = [
    cloudflare_access_policy.wireguard-access-policy-allow.id,
    cloudflare_access_policy.wireguard-access-policy-bypass.id
  ]
}
◉ Apply the resource creation
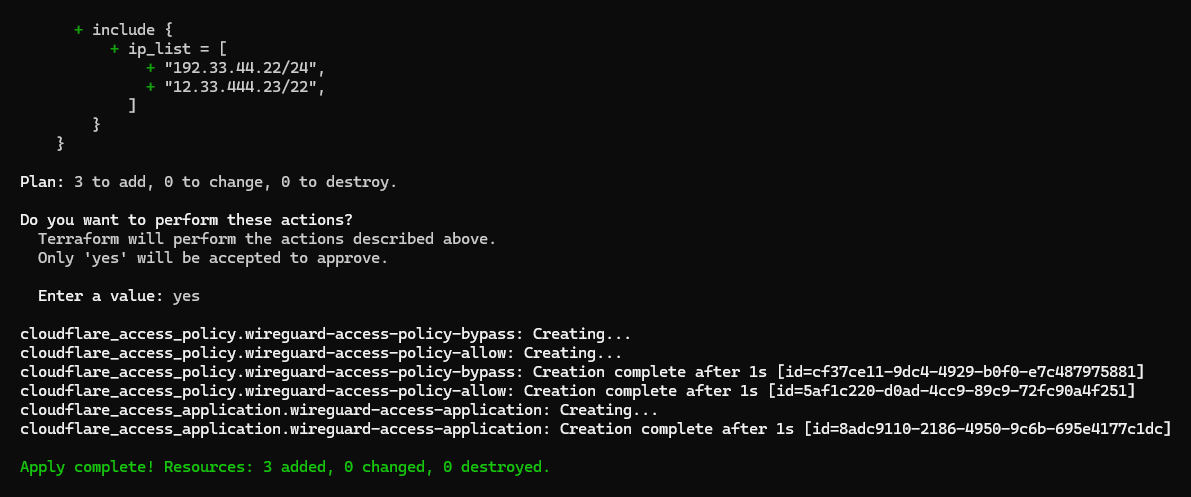
Now, run terraform plan to validate the resource creation plan, and then run terraform apply.
7. Test the Zero Trust policies
Perfect! Now let's test it by opening wireguard.novalagung.com. If you are being directed to the Terraform Zero Trust access form, it means the Zero Trust policy has been installed successfully to the site.
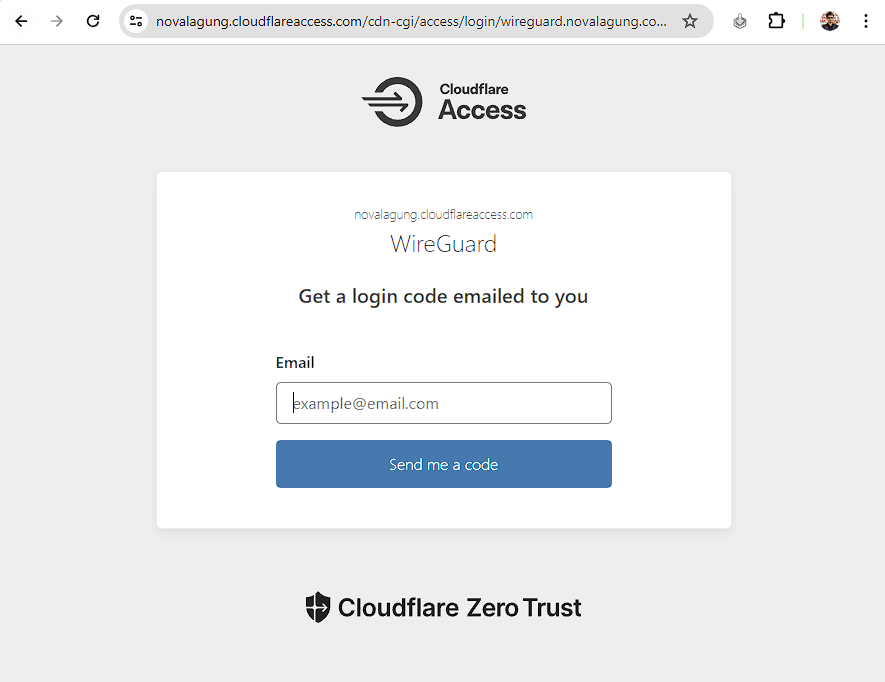
Try to enter with one of the whitelisted emails (in my case it is [email protected]). After that, enter the OTP code or just click the link, either is fine.
Now you finally have the access to the site. The session will be active for 24 hours.
